Yeap Phay Min (0331073)
Illustration and Visual Narrative
Exercises
_________________________________________________
26/03/18 (Week 1)
In the first class, Mr Hafiz gave us our first exercise called Vormator, that is to be done with Adobe Illustrator. During the exercise, we got to learn some useful shortcuts keys as well as the pen tool, which is mostly used in this exercise. We were given an image with a set of shapes in which we had to trace the shapes out using the pen tool. This was a good exercise for me as I’m not familiar with the software and I got learn how to use the pen tool to create straight and curved lines to trace out the shapes.
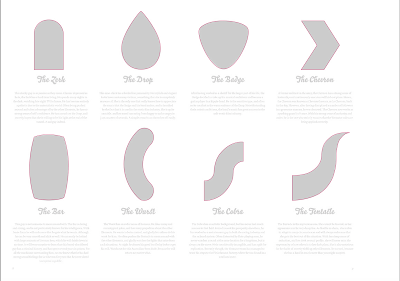 |
| Tracing the shapes using the pen tool |
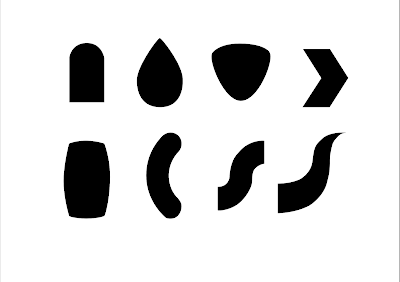 |
| Filling the shapes with colour |
Once that is done, I played around with the shapes and tried to create some characters. (These characters were not applicable for the next step though, as I didn't know that we weren't allowed to distort the shapes. I learned that we should hold the shift key while scaling.)
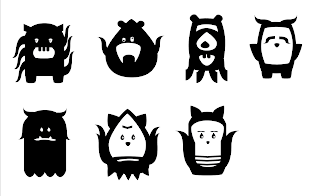 |
| Characters |
So, I recreated a character without distorting it.
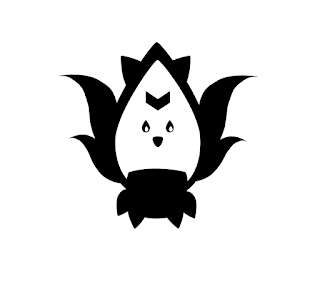 |
| Silhouette of character |
02/04/18 (Week 2)
In the second week, we had to use the characters we created to move on to the next step. We were introduced to learn several new things in Adobe Illustrator such as art boards, pathfinder, creating shadows, greyscale, colour swatches and others.
To create shadows, we learned to use the pathfinder (divide) and the knife tool to "cut" some sections of the characters. This is so we can colour them in later on. We started with the grey tones instead of colours.
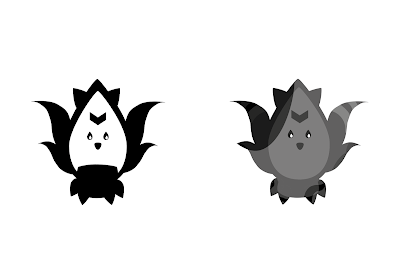 |
| (L) Silhouette of character - (R) Giving shadows and grey tones to character |
Then, we learned how to create our own colour swatches from pictures of paintings using the eyedropper tool.
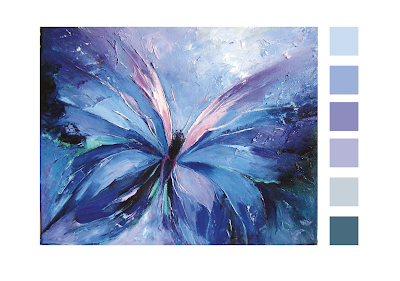 |
| Colour swatch #1 |
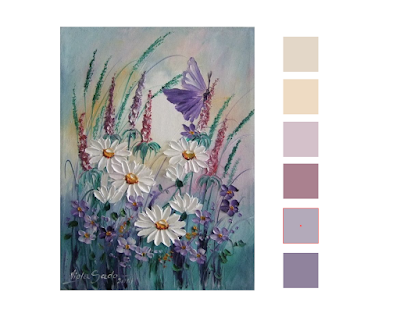 |
| Colour swatch #2 |
09/04/18 (Week 3)
In the previous week, we got to create colour swatches. This week, it's time to bring in colours to our characters. We also learned how to add textures.
 |
| Adding colours to character |
 |
| Adding textures to character |
30/04/18 (Week 6)
This week, we got to learn how to use the pen tool to trace out the shape of a pear, and later on use the knife tool and divide on pathfinder to create shadows and highlights, and split the fruit to create an interesting composition.
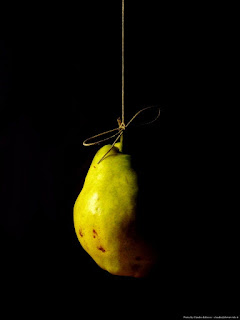 |
Picture of a pear used for the exercise
|
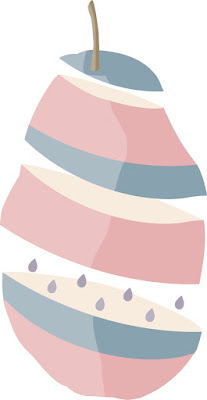 |
| Final Outcome |
As a practice, we were told to try this exercise using any fruits that we want to.
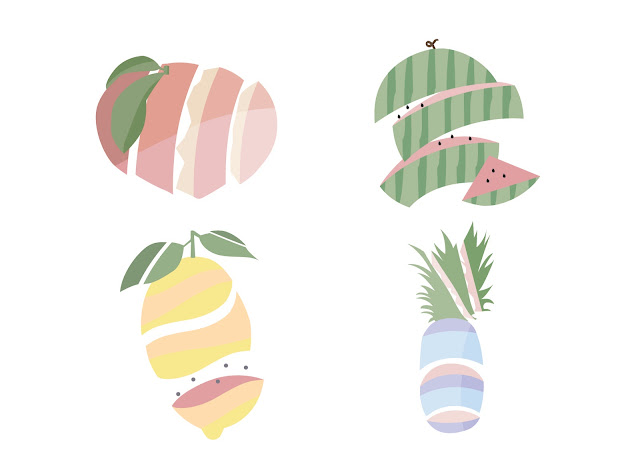 |
| Practices |
07/05/18 (Week 7)
This week, we continued the exercise of the pear, but this time we traced out the shadows of a skull and added it to the pear.
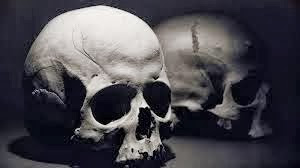 |
| Picture of skull used |
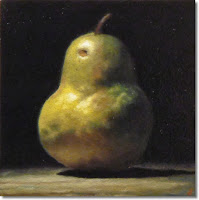 |
| Picture of pear used |
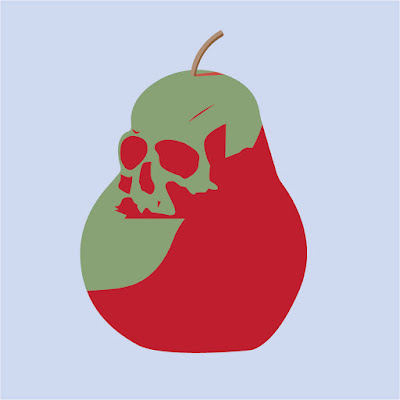 |
| Pear with skeleton added to it |
As for our homework, we were told to use the portrait of ourselves taken in the photography studio, and trace the outline as well as the shadows. Then, add colours and texture to it. We got to use tools such as the pen tool, pathfinder, compound path and clipping mask.
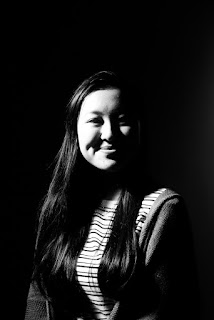 |
| Portrait of myself used |
 |
| Final Outcome: Colour |
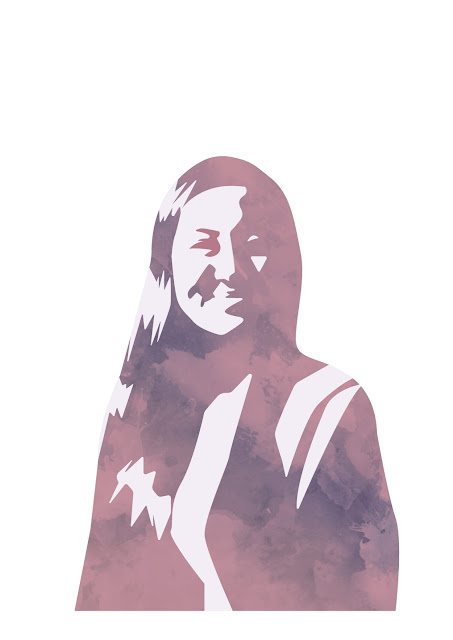 |
| Final Outcome: Colour and Texture |
16/05/18 (Week 8)
This week, we learned about the different types of transitions.
From the lecture, I learned that:
Moment to moment: A single action in a series of moments
Action to action: A single subject in a series of actions
Subject to subject: A series of changing subjects within a single scene
Scene to scene: Transitions across significant distances of time/space
Aspect to aspect: Transitions from once aspect of place, idea or mood to another
Non sequitur: A series of unrelated images
For the exercise, we were given a picture of a comic with many small square boxes. Using the transitions learned, we needed to come up with our own 'story' but picking out any boxes we want. To do this, we learned how to make clipping mask.
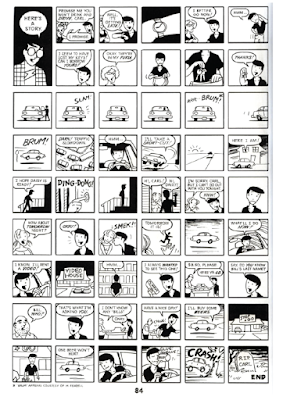 |
| Original Picture |
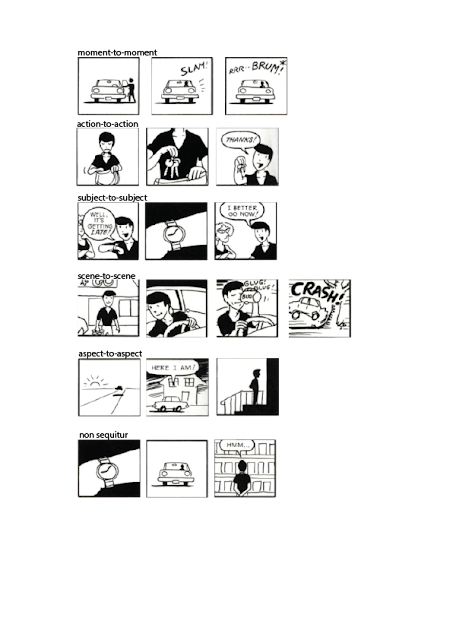 |
| Transitions |
25/05/18 (Week 10)
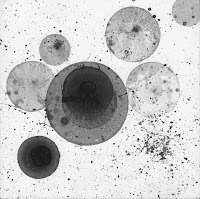
This week, we learned how to create our own brushes and do a digital greyscale painting using the brush tool as well as the mixer brush tool.
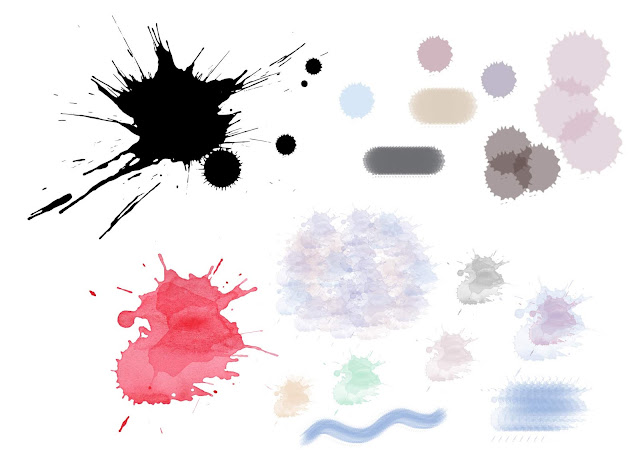 |
| Experimenting with how we can create our own brushes by clicking ' define brush preset'. I search up 'paint splatter' and 'watercolour splatter' to try this out. |
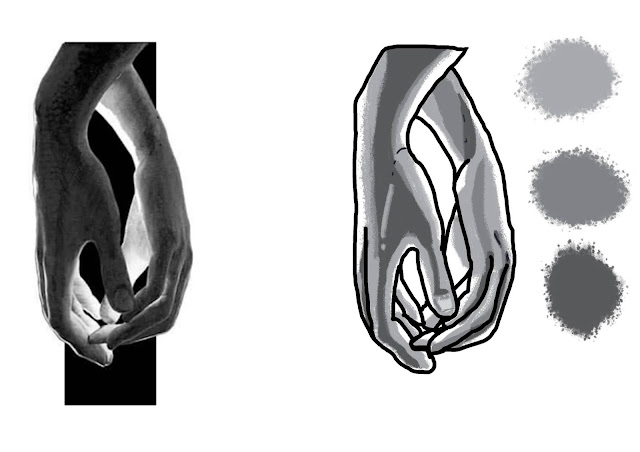 |
| Exercise 1: Creating outlines for the hand following the picture on the left, fill it, then paint on it according to the shadows using the brush tool (charcoal pencil) with 3 grey swatches beside so the colours can easily be switched around by using the option key to select the colour. |
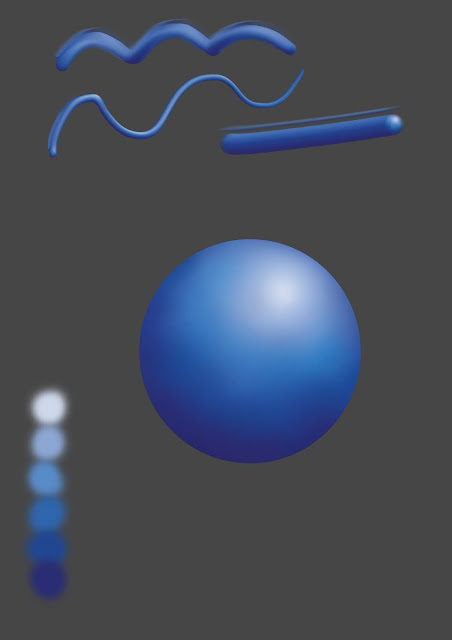 |
| Painting on an ellipse shape to give it some volume using the brush tool (hard round pressure opacity). I created a little swatch of colours of the different shades of blue at the corner. Then, I experimented the mixer brush tool by making the ball as my brush. I tried out different modes such as dry, wet and moist and drew some lines at the top. |
04/06/18 (Week 11)
This week, we continued our lesson on how to paint digitally using the brush tools.
 |
| Original picture |
 |
| Picture of texture |
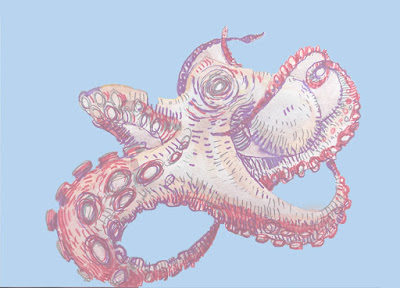 |
| Attempt at painting the picture #1 |
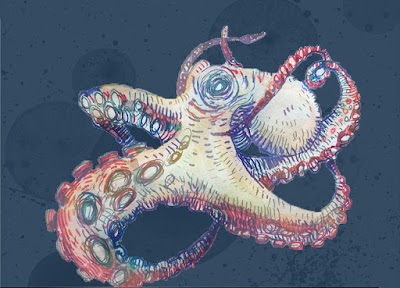 |
| Attempt at painting the picture #2 |
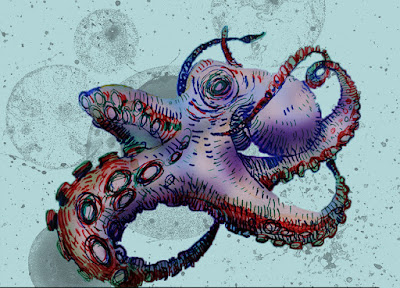 |
| Attempt at painting the picture #3 |


Comments
Post a Comment