PACKAGING AND MERCHANDISING DESIGN - EXERCISES

01/04/19 - 13/05/19 (Week 1 - Week 7 )
Yeap Phay Min (0331073)
Packaging and Merchandising Design
Exercises
LECTURE NOTES
01/04/19 (Week 1)
Purpose of Packaging
In our first class of this module, we were told to search up the purpose of packaging, and share them with the class.
Here's a list that I came up with:
- Provides physical protection to prevent damage
- Provides barrier protection to keep the product fresh
- To covey the necessary information about the product to consumers
- Convenience in terms of transporting the product, displaying, opening the product and storing
- Product identification: to differentiate the brand from others
- As part of marketing to attract and encourage potential buyer
- Provides theft protection, because if the product is being sold loosely the wrong amount might be given to the consumers
After the discussion, Mr Shamsul simplified and categorised all the answers into 5 main reasons.
- Protect
- Communication: Information, brand
- Marketing: brand, visuals
- Sustainability: Environment, recycle and reuse
- Convenience
03/04/19 (Week 1)
Considerations Before Designing a Packaging
In the tutorial class later that week, we needed to think about all the considerations before designing a packaging. Everyone had to write out a consideration on the whiteboard.
In the end, there is along list of considerations which are important to know about before we start to design a packaging. Here is the list compiled.
- Make the packaging practical
- Know your target audience
- Keep production in mind
- Packaging sustainability
- Think about the visual elements
- Materials used
- Distribution nd storage
- Product should inspire the design package
- Consider the colours and fonts
- Pricing and cost saving
- Contents and message to deliver to consumer
- Important information and labels
- Know what the product is
- Create a brand identity
- Stacking and transportation
- Location of point of sale
- Right language
- Thickness of package
- Grabbing consumer’s attention
- Typography
- Quality and functionality
- How to make the product interesting
- Measurements and size of the package
- Marketing strategy
- Recyclability
- Safety of the packaging
08/04/19 (Week 2)
Lecture #1 - Packaging Design
Mr Shamsul gave us a lecture for Monday's class. From the lecture, we learned about the importance of packaging, where it begins, how to make the perfect packaging design, what customers want, and the role of packaging. We also learned about how the content displayed on a packaging should've extensibility, practicality, and also be clear, simple, honest and authentic.
Lecture #2 - History of Packaging
In that same day, a group presented a lecture on the history of packaging. It was pretty interesting to hear and know about how packaging came about and how it was used in the past, from glass packaging to plastic packaging to paper packaging, as well as metal tin sheets and aluminium foil packaging design.
Here are the slides prepared by the group:
22/04/19 (Week 4)
Lecture #5: Colours in Packaging Design
In this class's lecture, a group presented on the topic of colours in packaging design. We learned that colours play an important role when it comes to packaging design as it is used to attract potential consumers and it can increase perceive value. The colours should be simple and contrasting. Experimenting with different colour options and keeping in mind of the target audience is also essential.
Some of the meanings of colours include:
White: cleanliness, minimalist
Black: Power, authority
Blue: Trust, honesty
Red: Energy, action
Green: Balance, harmony
Orange: Adventure, optimism
Yellow: Joy, Optimism
Turquoise: Calms emotions, clarity of thought and communication
Purple: High ideals, imagination
Pink: Warmth, Compassion
Brown: Strength, solidarity
Gray: Conservatism, neutrality
INSTRUCTIONS

Packaging Analysis
01/04/19 (Week 1)
For the first exercise, we were required to go to a supermarket and find packagings that matches the different criteria given to us. Photographs should be taken and documented in a set of slides.
This is a group work and I teamed up with Linda, Megan and Alicia.
Here is the list of criteria given to us:
I printed it out so it'll be easier to go over it in the supermarket.
 |
| Fig 1.1: List of criteria |
Once we're done finding the various packaging, we created a google drive folder to share all the pictures we've taken.
 |
| Fig 1.2: Overview of pictures taken |
Then, we worked on our slides and arranged all the pictures.
Our slides:
Box Making & Dieline
03/04/19 (Week 1)
In that same week, we were told to bring an item for our tutorial class. The item should be bigger than 15cm and smaller than 30cm. I brought several items such as metal straws, body lotion and brush pens.
For the next exercise, we needed to come up with a box design to package the item of our choice. I decided to go with the metal straws.
 |
| Fig 2.1: Set of Metal Straws |
I started by measuring the sizes, then proceeded with the sketches.
 |
| Fig 2.2: Measurements of product |
 |
| Fig 2.3: Sketches |
Once I had an idea of what I wanted to do, I made mock-ups.
 |
| Fig 2.4: Mock-up |
 |
| Fig 2.5: Mock-up |
Then, I created the dieline for my packaging.
 |
| Fig 2.6: Creating grids to help form the dieline |
 |
| Fig 2.7: First attempt of dieline |
In class, I got to show Mr Shamsul my mock-up and dieline. He mentioned that I could try adding a window so the metal straw can be seen.
I then proceeded to add a window to my dieline.
 |
| Fig 2.8: Final dieline |
After that, we exported our files in a dxf format, since we'll be using the laser cut machine. The material I chose to use is art card.
 |
| Fig 2.9: Laser cut process |
 |
| Fig 2.10: Laser cut process |
 |
| Fig 2.11: Outcome |
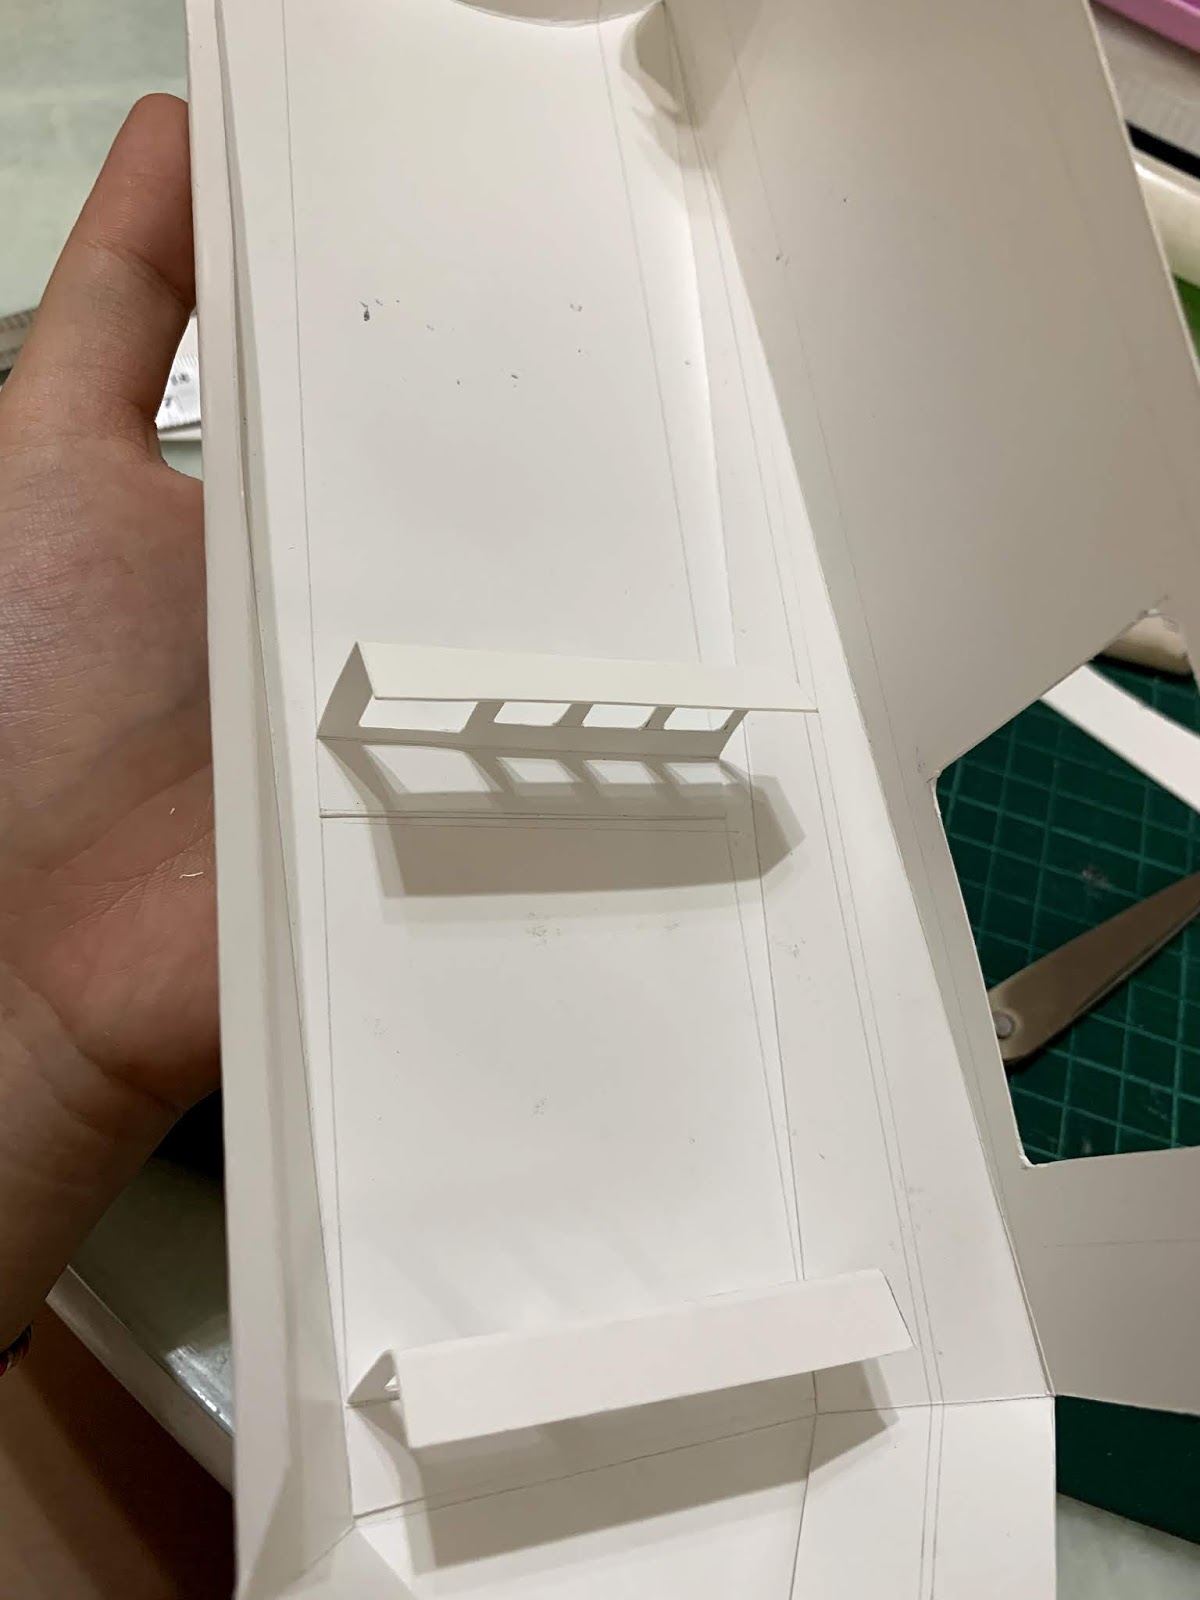
Once it was all cut out, I started to assemble it. I also added a thin plastic sheet for the window part.
Here are some pictures of the final outcome of the box design:
 |
| Fig 2.12: Box Packaging |
 |
| Fig 2.13: Box Packaging |
 |
| Fig 2.14: Box Packaging |
 |
| Fig 2.15: Box Packaging |
 |
| Fig 2.16: Box Packaging |
 |
| Fig 2.17: Box Packaging |
 |
| Fig 2.18: Box Packaging |
 |
| Fig 2.19: Box Packaging |
Mr Shamsul mentioned I could try to add some sort of "holder" for the metal straws so it would appear more presentable through the window of the box.
Here are some mock-ups I made.
 |
| Fig 2.20: Mockup |
 |
| Fig 2.21: Mockup |
I also updated the dieline.
 |
| Fig 2.22: Updated Dieline |
17/04/19 (Week 3)
We went to the laser cut studio during our tutorial class.
 |
| Fig 2.23: Lasercut process |
 |
| Fig 2.24: Lasercut process |
 |
| Fig 2.25: Lasercut process |
 |
| Fig 2.26: Assembling the packaging |
So… the one that I had laser cut had a tear at the curved part of the box. The slight cut made from the laser cut and the way it curved just made it tore which annoyed me a lot. It happened to my previous one as well.
Hence, I tried to do it all over again, but this time I cut it all by hand in the hopes that it'll still look presentable.
 |
| Fig 2.27: Assembling the packaging |
 |
| Fig 2.28: Assembling the packaging |
In the end, it turned out okay, but the cuts are obviously not as precise as it would be if it's laser cut.
Here are pictures of the outcome of the box.
 |
| Fig 2.30: Box Packaging |
 |
| Fig 2.31: Box Packaging |
 |
| Fig 2.32: Box Packaging |
 |
| Fig 2.33: Box Packaging |
 |
| Fig 2.34: Box Packaging |
22/04/19 (Week 4)
For this week, we were given an exercise related back to our lecture, which is about colours! We needed to come up with a gift, develop a name for it, and most importantly add colours to the design to suit the product we selected.
Instructions for this exercise:
 |
| Fig 3.1: Dieline Given |
 |
| Fig 3.2: First Attempt |
 |
| Fig 3.3: Rationale |
24/04/19 (Week 4)
During our tutorial class, Mr Shamsul mentioned that I could make my colours darker for it to stand out when it's placed on a shelf.
Here is the updated and final box design.
 |
| Fig 3.4: Final Design |
Thermal Forming
29/04/19 (Week 5)
This week, we conducted an exercise on thermal forming. Before today, Mr Shamsul gave us a short brief in the Facebook group of what we should bring for this exercise, which are A3 plastic sheets and small objects.
I decided to bring my little Ariel figurine, which turned out to be a bad idea, you'll see why later.
 |
| Fig 4.1: Initial Item |
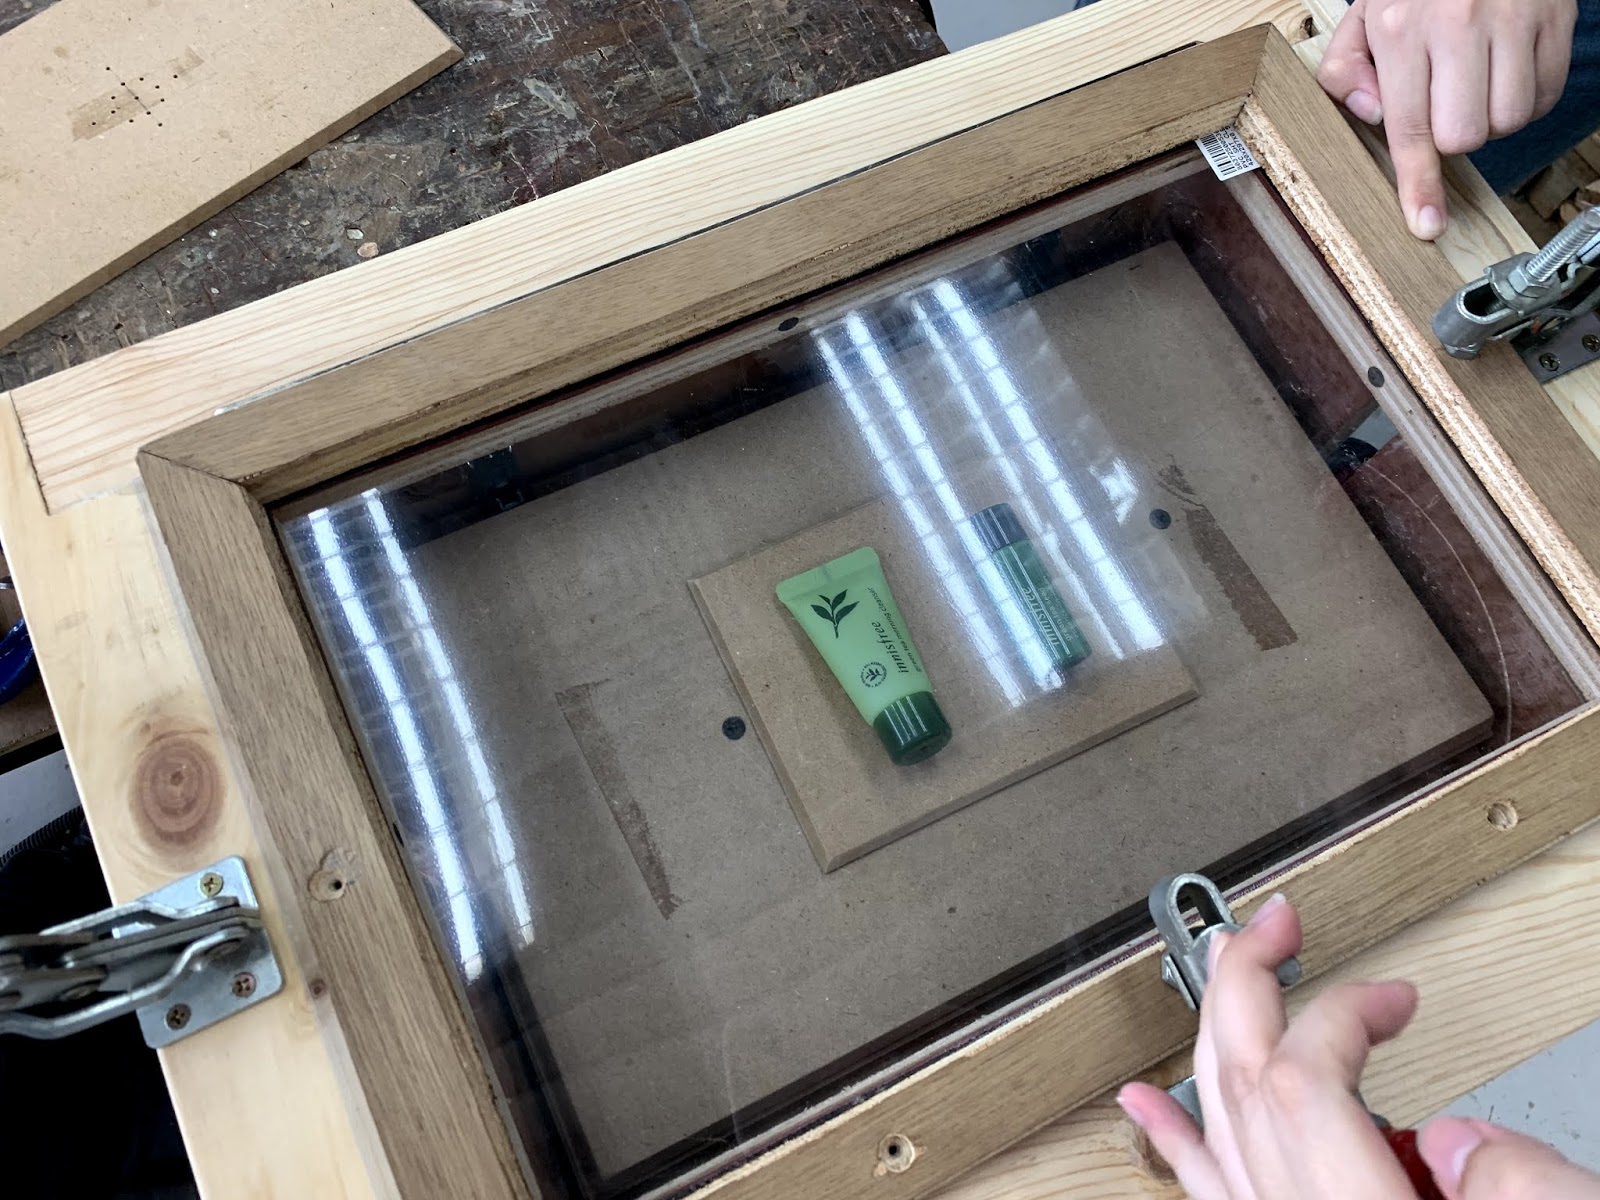
Before we started on the exercise, we were given a brief and demonstration on how it's done.
 |
| Fig 4.2: The Setup |
 |
| Fig 4.3: Placing the item on the block |
 |
| Fig 4.4: Heating the plastic sheet and the block is pushed up to mould the shape of the product |
 |
| Fig 4.5: "Cooling" the plastic the harden it |
 |
| Fig 4.6: Outcome |
After we were given the instructions and demonstration, it was our turn to try it out.
 |
| Fig 4.7: Process of melting the plastic to form the shape of my item |
Here's where it went wrong. The shape of my item was a little too complex and the melted plastic hugged TIGHTLY around the shape and it basically just stuck to it. So yeah, Ariel is now stuck in the plastic.
 |
| Fig 4.8: Front |
 |
| Fig 4.9: Back |
It just didn't work out so Mr Shamsul helped to remove the plastic and get Ariel unstuck of the plastic. In the end, Ariel was saved, with some bits chipped off haha.
 |
| Fig 4.10: Attempting to get Ariel out of the plastic |
 |
| Fig 4.11: Finally got it out of the plastic |
I had another class to get to this day, so I decided to come to the carpentry workshop in the next day to do the exercise again. And of course, I decided to find a different item with a simpler shape.
30/04/19 (Week 5)
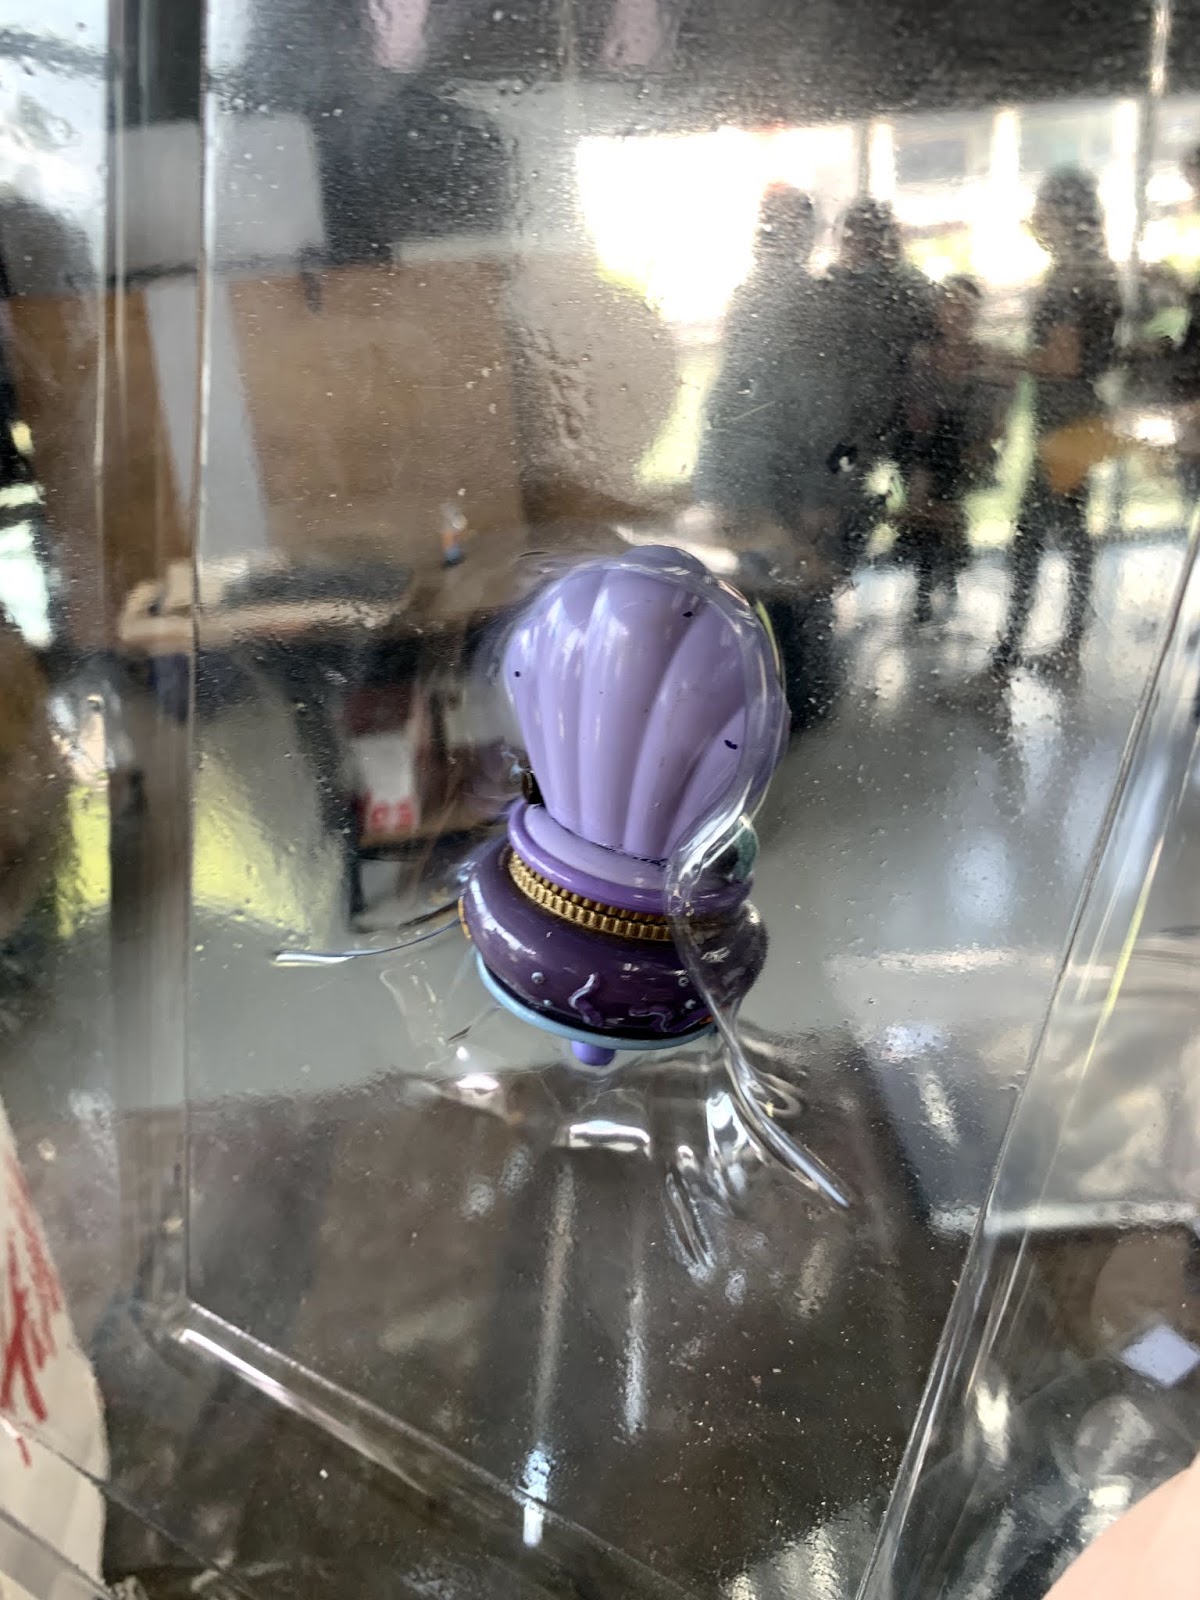
For my second attempt at this exercise, I decided to bring my small travel/sample sized products from innisfree. Since the object is rounded, I added some tape to the back of it and stuck it to the small block.
 |
| Fig 4.12: Items placed on the block |
 |
| Fig 4.13: Process |
 |
| Fig 4.14: Process |
 |
| Fig 4.15: Process |
 |
| Fig 4.16: Outcome |
Once this is done, we needed to trim the sides and then create a backing for it. Back home I tried to do this and I realised that when I bend the plastic with just a steel ruler, it doesn't bend fully and it still just "sticks out". Hence I was trying to think of way I could do this. Back in the workshop we were told that we could heat up our steel ruler with a hair dryer to bend it. Instead of doing that, I somehow thought of the idea of using my hair straightener since I felt that it would be much easier to flatten the folds.
To my surprise… the hair straightener worked (yay!).
 |
| Fig 4.17: Flattening the flaps |
 |
| Fig 4.18: Flattening the flaps |
 |
| Fig 4.19: Outcome after using the hair straightener |
Here are pictures of the outcome of this exercise:
 |
| Fig 4.20: Outcome |
 |
| Fig 4.21: Outcome |
 |
| Fig 4.22: Outcome |
 |
| Fig 4.23: Outcome |
FEEDBACK
10/04/19 (Week 2)
General feedback: The stroke width should be 0.3 for the dieline, and the lines to be folded should be in a separate layer in red.
Specific feedback: I could try adding a window to my design, so the straws can be seen through the packaging.
17/04/19 (Week 3)
Specific feedback: It would be better if I added some sort of holder inside the packaging to hold the metal straws, so that it'll look more presentable through the window.
22/04/19 (Week 4)
Specific feedback: For the box packaging exercise, Mr Shamsul mentioned that the overall structure of the box is nice and it does look a lot better with the holder for the straws inside. Even though I struggled with the previous packaging it was good that I still initiated on cutting the packaging dieline by hand, and the outcome was still presentable.
24/04/19 (Week 4)
Specific feedback: The colours on the box design could be slightly darker to create a contrast, because when the colours are too light it blends in with one another. By creating more contrast, it would be more attractive to people when it is placed on a shelf.
29/04/19 (Week 5)
General feedback: While using the heating tool, we need to be careful with it and not heat it too close to the plastic. We should maintain a certain distance between the plastic and the heat.
Specific feedback: I should use an object that is less complex so it will be be stuck to the plastic later on. The object chosen should also have no sharp edges so that it would not tear the plastic.
06/05/18 (Week 6)
Specific feedback: For the thermoforming exercise, Ms Maria mentioned that I've managed to successfully fold down the plastic to form the packaging. She said that it was clean and neat.
08/05/18 (Week 6)
Specific feedback: I got to show my thermoforming exercise to Mr Shamsul during tutorial class because he was absent on Monday. Overall, he mentioned that the outcome turned out nice.
REFLECTION
EXPERIENCE
01/04/19 (Week 1)
In the first class, I was introduced to the exercises and projects that we'll be doing. I also got to learn about the purpose of packaging which is important to know about.
10/04/19 (Week 2)
This week, I had the experience of creating a box packaging, using the laser cut machine so that it is more precise and neat.
17/04/19 (Week 3)
I got to make my box packaging once again as I had to make some adjustments to it and I had some struggles with the curved part tearing.
24/04/19 (Week 4)
I got to play around with colours and learn about the meanings behind them which was pretty fun as I really love colours.
29/04/19 (Week 5)
This week we got to do the thermal forming exercise. It was interesting to know the process of creating a "mould" with the plastic sheet according to the shape of the object.
OBSERVATION
01/04/19 (Week 1)
I observed that there are many purposes of packaging and they play an important role.
10/04/19 (Week 2)
I noticed that creating mock-ups before having the final outcome is good as you can have an idea of what it'll be like first and see if there's anything to change or add.
17/04/19 (Week 3)
I observed that the settings of the laser cut machine is important as it'll affect the way it's cut.
24/04/19 (Week 4)
I observed that colours are really important to a packaging design and we need to make sure the colours we are selecting are suitable to the product and the mood we want to portray.
29/04/19 (Week 5)
I observed that objects with a more complex shape will have a higher tendency of getting stuck tightly to the plastic, which was what happened to mine.
FINDINGS
01/04/19 (Week 1)
I found myself to be pretty interested about learning and designing packaging.
10/04/19 (Week 2)
While creating the design for the packaging, I found that it is important to make sure that the design is suitable for the product.
17/04/19 (Week 3)
Through this exercise, I found that creating a packaging isn't as simple as it seems. It has to be designed and measured accurately.
24/04/19 (Week 4)
I found that I am always attracted to colours of a packaging design first, so it is important to make sure the right colours are chosen to attract consumer's eyes.
29/04/19 (Week 5)
From the exercise, I found that it was pretty satisfying to see how the plastic moulds according to the shape of the object.
FURTHER READINGS
Best Practices For Graphic Designers
An Essential Guide For Implementing Effective Package Design Solutions
By: Grip X Chicago
 |
| Book Cover |
Through this book, I got to read up about packaging, as well as look at the images of packaging design that can give me some inspiration for future designs. There were a lot of creative and visually pleasing designs.
Here are some of my favourites:


Great Packaging concepts
ReplyDeletejust what i'm looking for to develop my graphic design skills on packaging design keep on sharing!
ReplyDeleteGreat tips regrading Folding Box Design. You provided the best information which helps us a lot. Thanks for sharing the wonderful information.
ReplyDeleteAmazing packaging designs ! A great packaging design makes people remember the brand and feel good about their purchase. packaging design gold coast
ReplyDelete